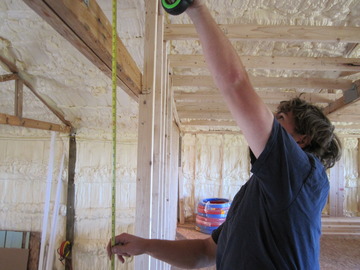
Framing out the wall boxes
At this point, the building looked pretty much finished from the outside, but inside, there were a number of
unfinished structural elements. In the gaps between the pressure-treated posts that made up the skeleton, we
needed to install wall boxes made of 2x6s that we built and then wedged into place. These boxes would provide a
post-to-post rigidity to augment the girds that wrapped all the way around the building, and while the wall boxes
would only be wrapped around the southwest, south, and southeast parts of the building, we had learned that most
of the extreme weather comes from this direction.
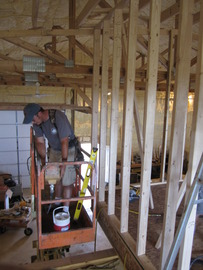
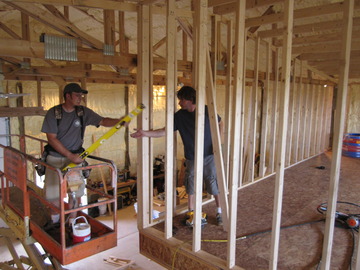
Bottom floor divider wall
We left a series of bolts embedded in the concrete floor forming a line dividing "the garage" from "the apartment".
Today, this line became the anchor for a 2x6 wall that stretched from east to west leavign a 20' apartment area in
the south and a 28' garage area in the north. There is a doorway in the middle; we left the bottom board in this
doorway intact, but we will saws-al it out of the way when we install a door later. I thought the old bolts were
annoying; having a threshold here is perhaps moreso. Can't wait for the door.
First floor deck
I drove the Semi down to UBC and we loaded it up with manufactured I joists and tongue-in-groove OSB. Pulling the
first few joists into place was difficult, but once we got a place to stand we made pretty quick work of the
decking, and pretty soon we had an upstairs. Dave was here for this project, and we kept him working pretty hard.
Staircase
As if we needed another reason for Chris to be totally indispensable, we built a staircase with a landing and a 90
degree left turn at the top. On the way out to the job, Chris was chanting mystical incantations about where
to take up the error in each step and how to divide fractions mentally through methods of approximation. Good lord,
just draw lines and tell Jerron what to cut and I will carry whatever you need, but of all the projects we've done
over the years workign on this house, here is one I know I could not do by myself even if the wind was not blowing.
I guess if I'm ever on my own, I can build a one story house in a dead calm place.
Ceiling
The ceiling of the upstairs part of the apartment was a real pain. it was hard to even visualize where we
needed to hang wood in order to provide a surface for the sheetrock, but after deciding to box out the bottom
of each truss with sheetrock and hang 2x6s on their sides on top of the bottom board of the trusses, it was
just a question of putting a ladder up on a really uneven surface, climbing up, and shooting at an odd angle
with a deadly nailgun. Except when the structural elements of the truss were in the way, and we had to use
metal hangers to place the 2x6 in the right place. Or when we had to actually get up into the space above
this ceiling structure and crawl around on toe-nailed 2x6s. Fortunately Chris is Spider-Man so me and Jerron
spend a lot of time during this project trying to stay out of the line of Chris' nail fire.
Rough electrical
One thing I hate about living in a new apartment every couple of years is the terrible planning of most
electrical outlets. There are never enough. There are never ones where you need them. Hopefully I have solved
theses problems. I probably used more 2 gangs than I needed to, but I don't want to have a lot of power strips
all over my house. Some walls don't exist yet (namely, interior walls upstairs) so some coils of wire are left
which will eventually be run through one of these walls.
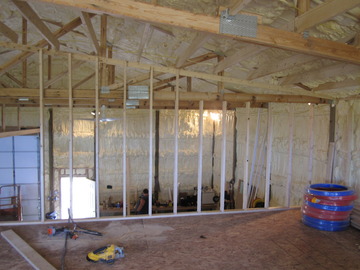
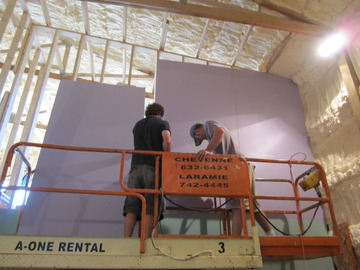
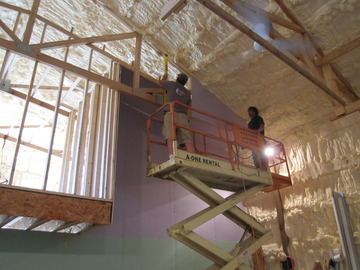
Insulation
Chris has a co-worker Chad who, a year or so back, bought a trailer full of equipment that allows him
to spray a 2-part foam insulation product that goes on about 1/32" think and then expands about 4". With
the pressure-treated poles and trusses as the spine and the perlins and girds as the skeleton, the
corrugated metal skin adds a monocoque-style strength through tension, but this filling of foam will
deaden the springiness of the building, which tends to be alive with creaks and pops in moderate winds.
That was the plan, anyway. The plan worked perfectly. Chad's work was almost flawless, and when
he was done, he invited us to walk around and nominate dead spots where he should spray more. The foam
started to set up almost instantly, and over a 24 hour period it hardened almost completely. It's water-based,
so if there's a leak, water won't damage it, it will just flow right through the foam harmlessly. After
the foam hardened, a wind blew up which we could only detect when I stepped outside the building and my hat
blew off. The difference in the stability of the building imparted by the foam is amazing, but here's the real
proof of this product: when it's 0F overnight and less than 30F during the day, it stays about 48F inside the
building just from the heat of the sun. Even in the summer, when it's over 80F outside, it stays shockingly
cool inside, especially considering the roof is dark green metal.
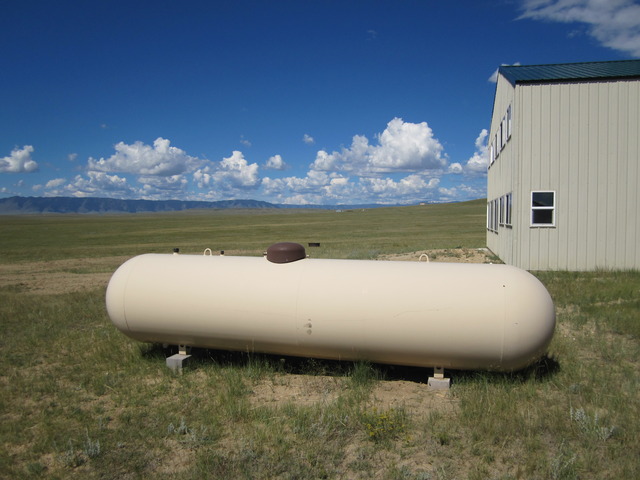
Propane tank
The best form of dinosaur fuel in Albany County is propane. Amerigas and
Suburban Propane will both deliver propane and they'll both lease you a
large outdoor tank and give you an allowance for free trenching. I wanted
my trench to go a little further, and Amerigas gave me the best deal.
They
estimated that I would burn 200 gallons a year (which sounds absurdly low)
and I have a 1000 gallon tank which has a maximum capacity of 800 gallons.
Doesn't that make is a 800 gallon tank?
Heating system and rough plumbing
During the summer of 2009, I accumuated a whole slew of water infrastructure parts. A 535 gallon tank
to sit on the floor of the garage and a 425 gallon tank to sit in a pickup. A pump. A pressure tank.
A maze of PVC pipes and elbows and fittings, and then another maze of similar yet different parts in brass.
Pressure switches. Spigots. Drain traps. It all gradually got arranged into a system for transporting
water from town, gravity-feeding it into a holding tank which feeds the domestic water system, which is held
pressurized by a pump and pressure tank. All it's missing is an alarm to tell me when the water is low,
so expect to see a project to resolve that in the future, because it's somewhat annoying to have to
monitor how many gallons of water you have left. On the other hand, it certainly makes you turn the tap
off when you don't need it on.
Around the holidays of 2009, I spent a lot of time on the phone with plumbing and heating companies,
trying to get an idea how much they would charge for a system to heat my house, but also trying to get
some professional opinions about how much capacity I needed for the system. I didn't get a lot of good
responses, so I tried hard to estimate as best I could the various dimensions of the home heating requirements
calculations and ran my end results by an experienced builder with whom Dave works. Then I made some
calls to the "local" Buderus distributor, and bought a GB142/45 hydronic boiler, along with a domestic
hot water maker. Bob spent a lot of time getting these tied into the system via a custom copper and
brass hot water manifold, which connected the boiler to the hot water maker as well as to the PEX lines
running through the floor and to baseboard forced hot water radiators. A handful of pumps circulate the
fluid at the right time to the right zone and hopefully that keeps everythign warm in the winter.
Bob and Jerron also strung PEX from the end of the pressurized water system throught the wet wall, leaving a
T junction and a stub everywhere that was planned for a water-consuming appliance.
Septic system
At first, I had planned to build the septic system myself, but you know what? I got to a point
where I decided "enough of this building your own house" bullshit. Enough of trying to learn how
to do every last little task yourself, how about learning how to subdivide unitized tasks to
qualified people in a way that they wont interfere or interlock with other tasks too badly.
I was greatly encouraged to go this route by my neighbor Mike. Mike is a former military guy with a
can-do attitude and experience as what I think is called a roustabout. This is the guy in the oil
industry who acts as the utility infielder, welding, backhoeing, fabricating, demolishing; whatever
needs to be done. Mike has a permit to dig septic systems and he's familiar with the certification
and inspection process, so he got the job.
Mike was about one year behind my team in his own project to build a similar building on his property,
although his would be only a barn, with no apartment inside. So as the summer of '09 turned quickly
into the fall, I knew the position he was in: he was almost done wrapping up the exterior of the
barn and he almost had an "indoor" space he could work on during the winter, but not quite.
I could understand why he was more interested in finishing his indoor space than in digging a hole
on my side of the fence.
When the spring of 2010 came, it felt like an eternity before the ground dried. In the Laramie
Valley, you basically have 4 seasons: Summer, Six Seconds of Autumn, Holy Shit It's Cold, and Mud.
Holy Shit It's Cold is definitely the longest season at 500 weeks. Six Seconds of Autumn is entirely
too short and Mud is entirely too long. Summer runs from late June to late August. Until it's summer,
you definitely do not want to drive a backhoe on my property, because you will not be able to
recover that backhoe from the mud until it is summer.
Once it was summer, and before he left for Sturgis (nsfw), Mike dug a magical hole in the ground that
turned my building from a barn in the middle of a field to a beautiful home in which you can poop
without driving to town. This magical transformation is the result of a lot of hard work by a lot of
people but ultimately it comes down to Mike being a great neighbor who happens to be a wizard on a backhoe.
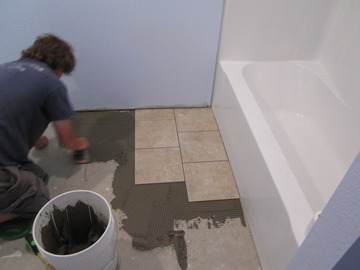
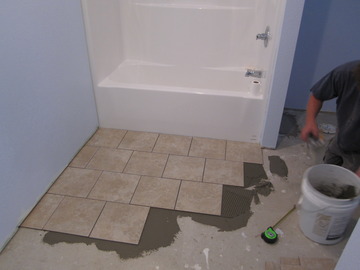
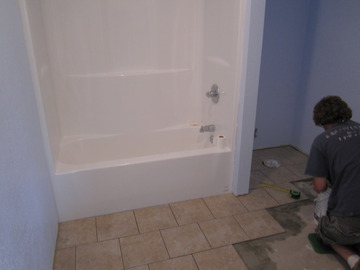
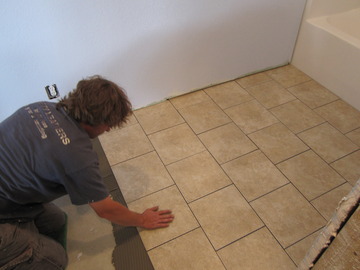
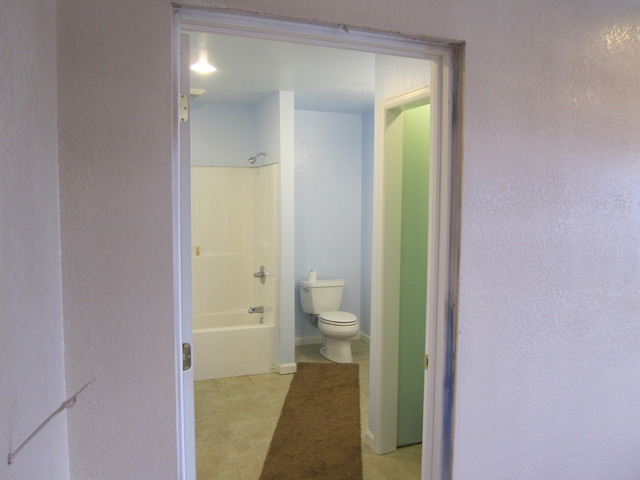
Finishing the bathroom
When I was able to make it up to Wyoming in late July 2010, I found a downstairs bathroom with a
working shower and a toilet which worked but could be removed easily from the floor. Bob had shot
texture over the sheetrock, and all that remained was for us to prime the walls, pick some paint colors
and buy some tile, and apply the tile and paint. Bob suggested a block pattern
to help hide waves and I think it came out great.
I also bought a vanity with sink from Home Depot
and Bob hooked that up under a medicine cabinet which he installed right under a light fixture that I
also picked up at Home Depot.

Once we put some caps on the various lightswitches and putup some white baseboard trim and some tiles
around the shower, and once the door was hung, it was hard to tell that you're in an unfinished barn
in the middle of nowhere. In fact, this is a pretty awesome bathroom, short one trip to Bed Bath & Beyond.
Internet
I've been thinking about Internet connectivity to this building since the beginning. Multiple
conversations with the locally available Internet companies made it clear that the only quality
connectivity was goign to come if I connected to a wireless access point about a mile away, but
there were only two places on my entire property where I had line-of-sight to the upstream antenna:
in the front corner, up on the hill, or in the extreme back corner near the fenceline. Both locations
were hundreds of feet away from electricity.
But both were in view of the sun, so I asked Jerron to dig a 3' hole at the more-easily-accessible
front location, and I got Mike to give me a 13' length of drillign stick that he had on a rack next
to his barn as part of the metal collection that every experienced welder has. Jerron filled the hole
with a few bags of concrete and bam, we had a pole.
I got a solar battery charging kit at Harbor Freight. I designed a mount for the solar panels and
when I can get my mock-up to Wyoming, Jerron will fabricate it. I'm hunting around for weatherproof
electrical boxes; we'll get one and mount it to the pole. Inside I'll stick a lead-acid deep cycle
battery and the charge controller from the solar kit. I'm also searching for a good medium-range
point to point wireless kit; when I find that I'll put one side at the tip top of the pole and point
it at my house and I'll put the other side above the French doors on the west side of the building.
That will give me connectivity from the building to the pole and then I can call the local Internet
guy to hook up his router to my battery and put it in the weatherproof box, while his antenna can
sit right below mine and point back east towards his POP. A solar Internet relay station for under
$1500.
The wall between the shop and the apartment
Downstairs, this wall was already complete, and had been for a while. But
upstairs, we had to build a wall that tied in to a truss that was pretty
far from straight. This meant that every board had to be custom cut and fit,
but the good news was that other than the weight of the sheetrock, this wall
would not carry anything.
When the skeleton was done, Chris and Bob put sheetrock on top. Hopefully
this wall should be a huge factor in keeping moths (which are attracted to
the light in the windows in the evening) out of the living area.
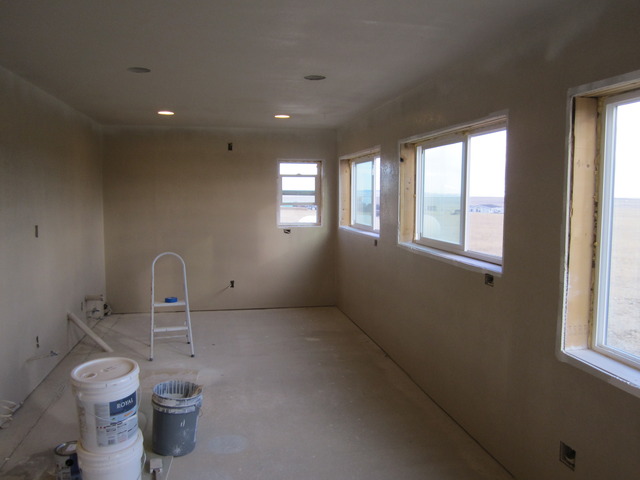
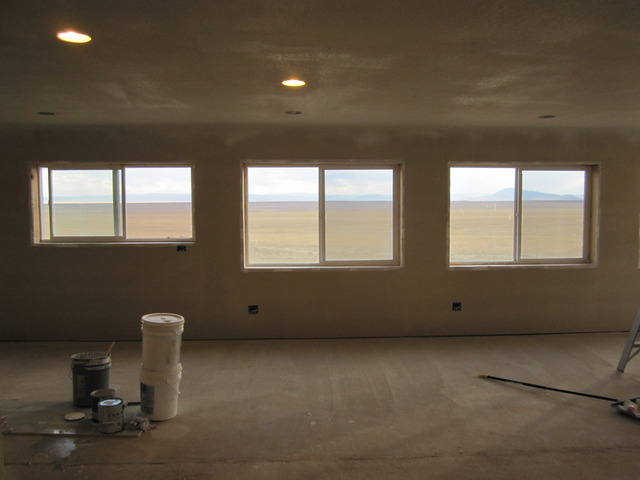
Lights, sheetrock, upstairs interior walls, upstairs sheetrock
I had been away for a bit and I returned to find that Bob had sheetrocked, taped, and textured all of
the downstairs outside of the bathroom. The cleanliness factor was suddenly markedly enhanced. I stopped
at Ace and I bought a few more gallons of paint, with a color selection assist from Dave, who is not normally
useful in these matters. He suggested that the tan that I selected would be too light, and would look essentially
white once it was on the wals. I substituted a darker tan. He wanted me to paint the ceiling the same color; I
wanted it to be white. We argued for a minute on this point too; he wanted a "ceiling white" but I selected
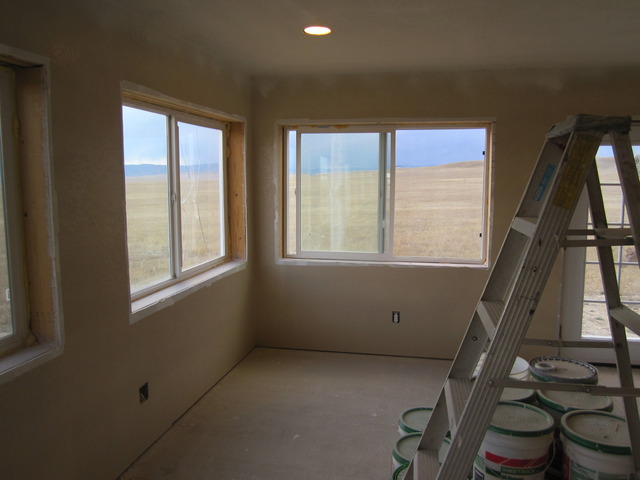
a color from the same color group as the tan, but much, much lighter. We proceeded shoot primer all over the ceiling
and walls:
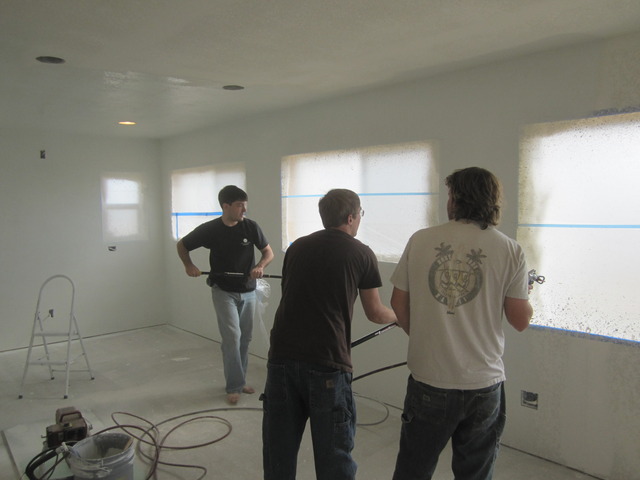
Then we used Bob's paint sprayer to spray the ceiling. Bob sprayed and Dave and Wydell followed him with rollers:
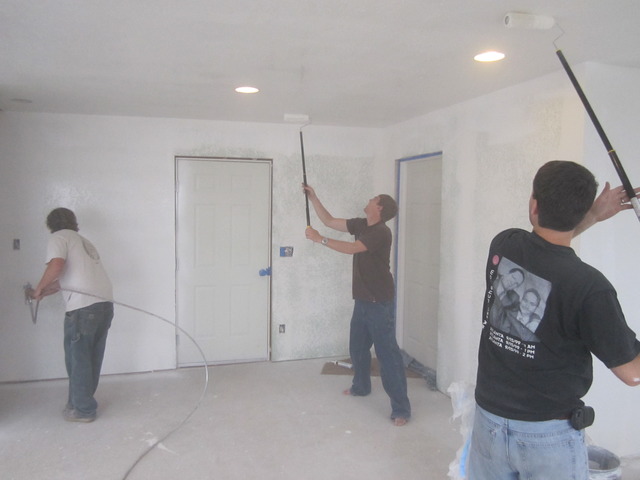
After we sprayed out the tan, it looked excellent.
The bathroom looks particularly nice against the new tan:
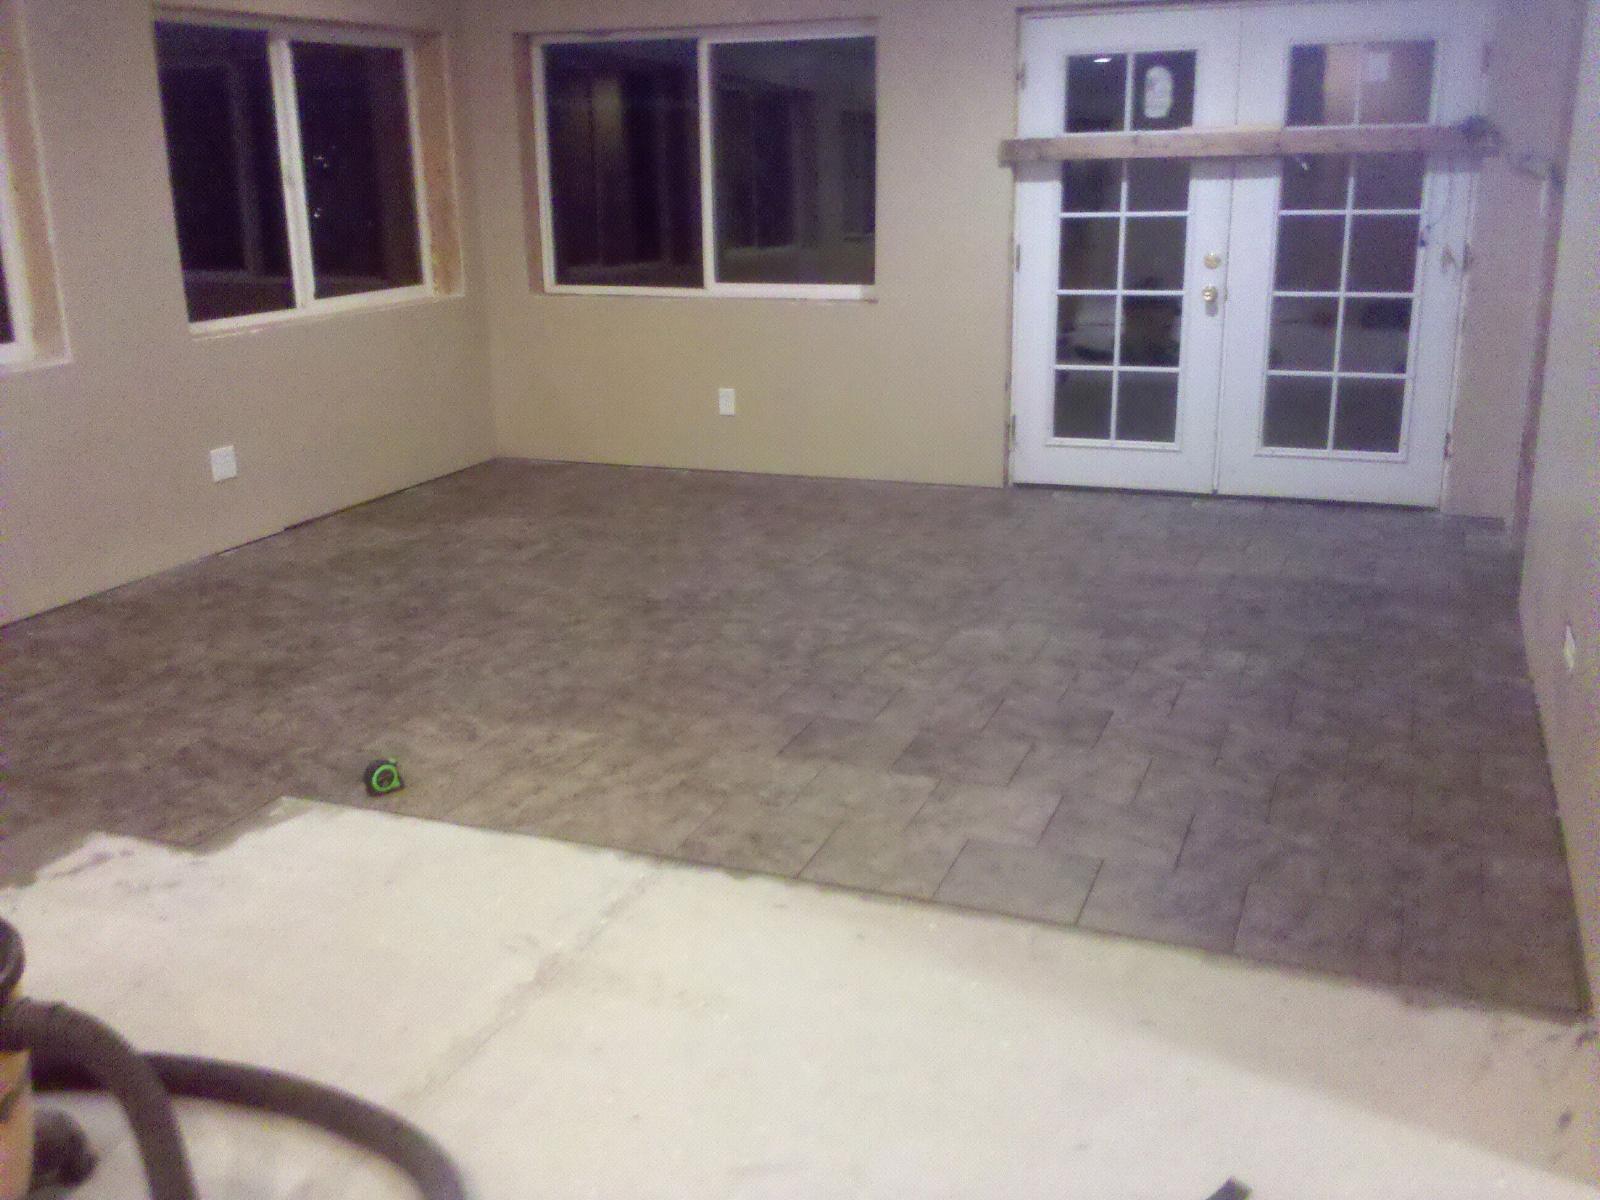
Downstairs tile
Bob sent me a single picture of the west side of the downstairs, tiled but not
yet grouted. The dark color is intended to pick up solar energy to passively
heat the floor in the winter.
Sidewalk and approach
coming soon - we'll work on this in September, weather permitting
Road
coming soon - hopefully we get to this by the time the weather turns to Winter, or the whole area will
turn to Mud