Overhead Door
The overhead door had been kicking around for a long, long time. It was ordered with the metal used for the sides
and roof, I think (Dave would know best, he's keepign very detailed purchase records) and it arrived in the summer
of 2008, I suppose. They were immediately moved in to the building before the building even had an "in" and they
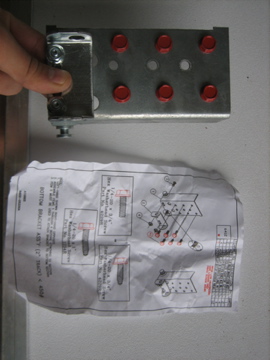
they are pretty tough and Chris had thought to move the instructions into the bus when the delivery truck left.
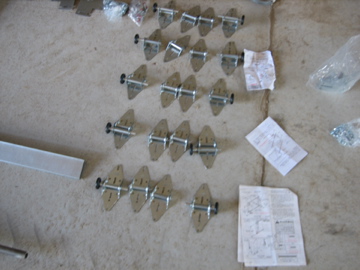
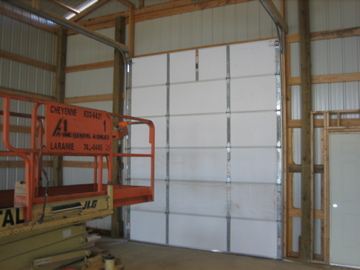
The door kit contained a ton of parts, and everything was very slightly different. It didn't take long to get it
all laid out on the floor. I can't express to you how awesome it was to be working indoors all of a sudden. We
couldn't stop talking about how great it was to not have the wind blowing on us, even though it was howling outdoors.
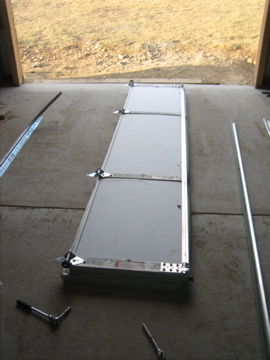
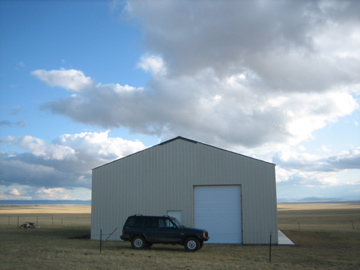
We plowed through the assembly of the door knowing when we were done, we would finally be able to trust the
building against the elements.
Unfortunately the Saturday slipped away from us and we went home with the top panel still not in position.
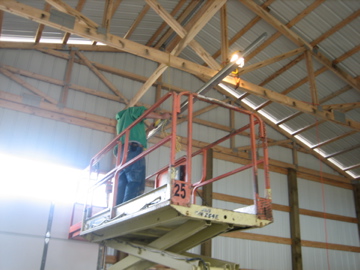
Sunday saw us back at the site, now taking full advantage of the roof-building equipment still onsite. I swore
all day that I will never, ever, ever do another job without a scissorlift. Ever. The next time I take a ladder
off the ground, someone please stop me before I hurt someone. In order to get the top panel into place, the
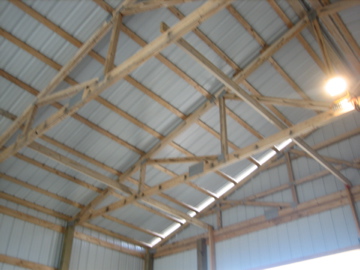
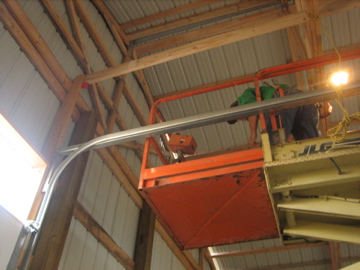
horizontal rail had to go into place, and before that could happen, we had to build a box to support it. Chris
had a somewhat complicated sounding plan and most of it made sense so I held the dumb end of a series of boards
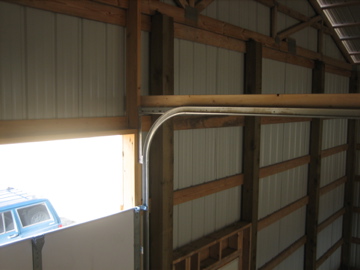
and let the master work. First we laid a 2x6 on edge across the bottom of two trusses, butted up against a lip
we constructed on the front wall above the door. From these, two 2x6 risers extended down and from them hung
the parallel horizontal rails. Up front the rails connect to the wall and to the vertical rails. With these in
place we could slide in the top door panel and connect it.
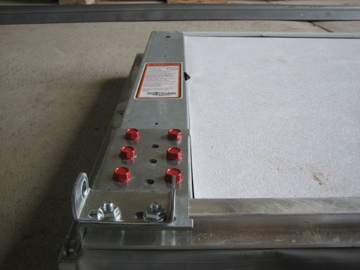
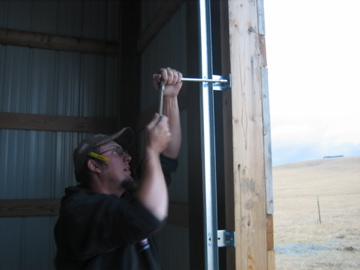
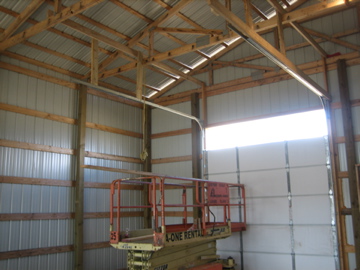
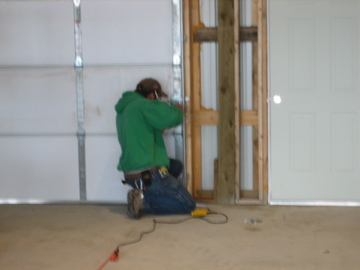
We spent some time strengthening the box and then
we set up the spring. We bolted the spring assembly in place, then Chris snapped a line on the spring. With
a mark on the untensioned spring, he then used a breaker bar to crank the spring around and around, counting
the number of spirals that the line made on the spring as the spring coiled up further. Being sure to keep the
same tension on each of the two springs, we then connected them to the rollers and the door and fashioned a bit
of rope to work as a pull. This door, which is rather large, can be operated with barely any effort because the
spring is correctly tensioned.
next