Rebar
I've always been a little obsessed with reinforced concrete so I was happy to
see this task come around. I spent an afternoon tying up rebar that twisted
along the inside of the trench in between the posts, and Chris helped me
finish the other three sides. This will give the frostwall some vertical
shear elasticity, and prevent part of it from sinking relative to the rest.
We also poked rebar down into the trench and
tacked it to the girds. When the concrete comes, we'll be able to bend all
the rebar down and bury it in the slab; it will tie the slab to the frostwall.
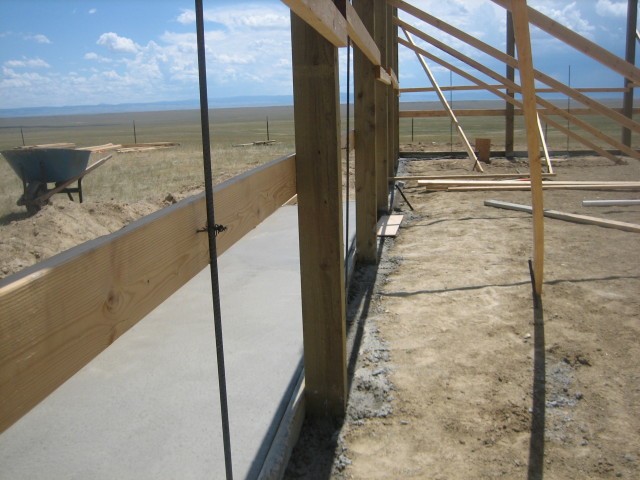
Splash Planks
The bottom row of splash planks went on next, to provide a level to which we
will fill the trench. The level will be 1 1/2" inches higher than the bottom
of the splash plank, which means that the splash plank will be embedded in
concrete when the concrete dries. This will also act as the form for the slab.
Since the generator is still fucked, now we are using a chainsaw because
hand-cutting 2x6 pressure treat is a smidge more fucking ridiculous than using
a chainsaw.
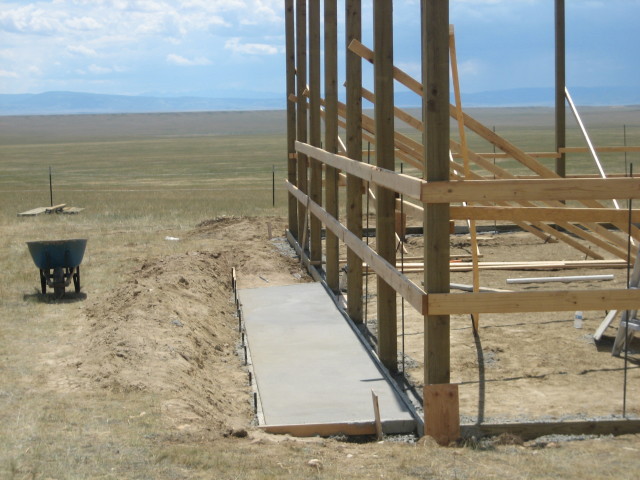
Jerron is worried these splash planks will make it difficult to spill concrete
out of a chute into the trench. He has a point, there are already the
following objects in the way:
- A post every 8 feet
- Rebar in between posts
- Splash planks over the trench
Jerron's past dealings with concrete suggest to him that this is a Bad Idea.
Chris is unperturbed, noting that the splash plank is really outside
the trench, not over it, and in any event how would we do this and make it
level without the splash planks? The splash planks stay on.
Concrete Part 1
By the time the concrete came I was used to the new idea of making a final
decision on something that could not be undone. This is a relatively new
thing for someone who spends most of their work time with the Internet and
various software devices. But concrete is a special kind of finality: the kind
where not only do you make a decision and live with it forever, but due to the
laws of chemistry, you've got about 1 hour to make the decision and execute.
Chris made a good tool out of a piece of plywood which I used to direct the
flow of the concrete into the trench, around the splash planks where necessary.
I ask him if he invented it and he says that normally there would be a half
sheet of plywood, but normally someone would not have taken the plywood to a fine furniture shop and created ergonomic handholds and sanded them to a smooth
finish so they would not snag on my concrete gloves.
The yard or so of leftover concrete becomes about 20' of 42" sidewalk, 3'-4'
deep. Everyone acknowledges at the end of the day that the concrete has
gone really well, but everyone is careful to say "so far" because there is
a whole slab worth of concrete and that's a lot. Today's experience makes us
think it is critical to get the chute to move around more than the truck,
and it informs us that we will need 5 people to do the slab, not just 3.
Additionally, we now plan to do the slab in at least 4 pours, with a target
of doing the 2 under the south side first, so we can get the apartment in that
half roughed in sooner rather than later.
Bathroom
In order to pour the slab, we need to complete all the rough plumbing for the
bathroom and the kitchen. To do that, we needed to know what devices would be
installed where in these rooms, so we started buying them since the easiest
way to measure up plumbing is just putting the stuff where it needs to go
and working from there.
Home Depot and Lowes? In Cheyenne. 45 minutes away. Via I-80, which over
that stretch is a pretty tough road - from 7200' to 9100' and down to 6500';
heavy semi traffic. Our delivery vehicle is a 2000 Jeep XJ with a custom
matching trailer. We scouted out an alternate route (Happy Jack Rd.) and
decided it was a great improvement for overland transport.
We hit up Home Depot to shop and Lowes to purchase. We ended up with:
- A Kohler toilet
- A bathtub/shower stall, one piece
- PVC pipe to the extreme; 3", 2", 1 1/2", various p-traps and angles, closet
seals, etc. We already have primer and adhesive from installing the outflow
line that goes though the frostwall
- Drainplug kit for shower
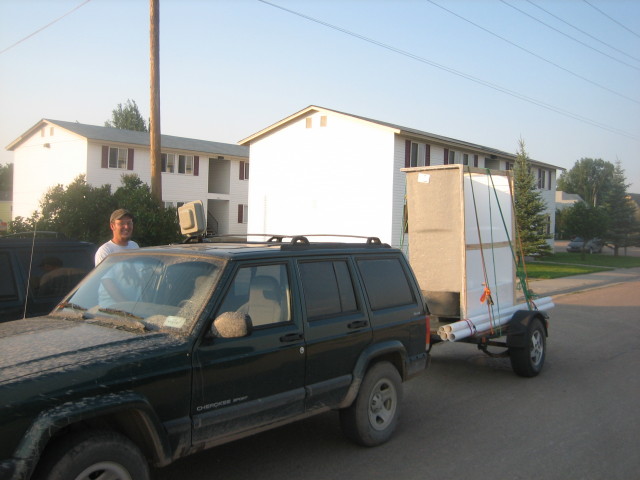
Then we strapped all of this to the trailer-that-has-no-lights and bombed back over Happy Jack in the pitch dark. The way I figure, I can't lose my WY license
the first day I have it, right? What are the odds? Anyway, that's on the list
for this weekend: put interface socket on both my Jeep and Chris', since the
trailer isn't really lightless, we just don't have anything on our Jeeps
right now in which to plug the trailer.
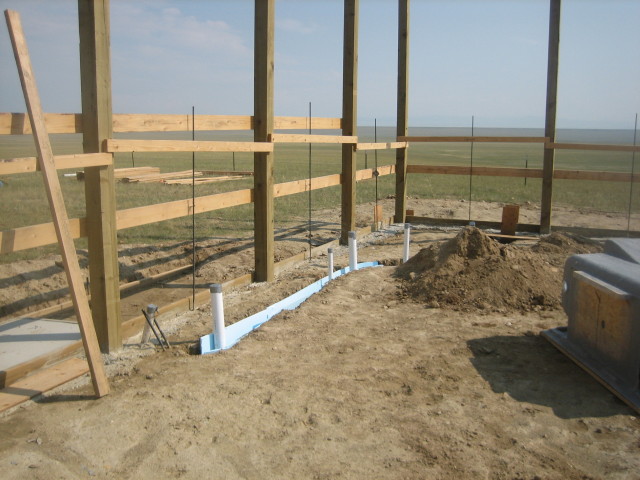
Some more trenching was required to run a deep pipe from the egress point at
the bottom of the frostwall, through the kitchen, through the bathroom, and to
the engineering area in the corner of the shop.
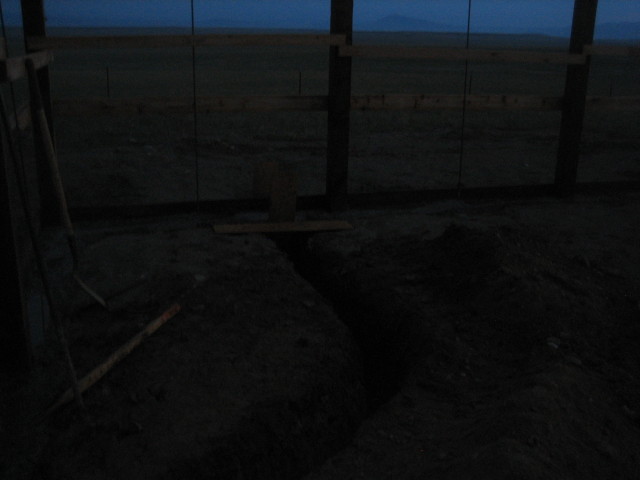
Everywhere that a sink or
toilet or shower will drain, a pipe sticks up vertically from the deep drain
pipe. The drain pipe, obviously, is slanted slightly towards the egress point.
We surrounded the pipe with insulation and ran a PEX line through the trench;
later the radiant floor heating system will run hot water through here to keep
the drain from freezing, and the insulation will help the drain keep the heat
without conducting into the dirt under the rest of the building.
next